By default, lettering objects are filled with satin stitching. You can apply other fill stitch types, such as Step or Fancy, as well as effects such as Textured Edge.
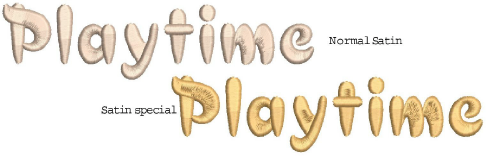
By default, lettering objects are filled with satin stitch. You can fill lettering shapes with Satin special as well as the regular satin stitch. It may be suitable for filling large, irregular lettering shapes that are too large for satin stitch. See Creating satin fills for details.
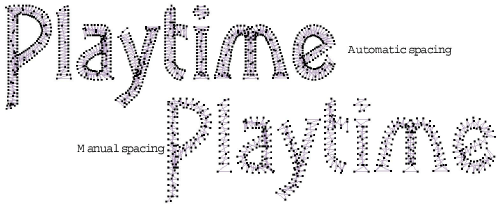
Where a letter is narrow, stitches are tight, thus requiring fewer stitches to cover the fabric. Where a column is very narrow, stitches need to be less dense because too many needle penetrations can damage the fabric. See also Adjust satin stitch spacing.
Note For larger lettering objects, various techniques are available for controlling long stitches. See Preserving long stitches for details. See also Split long stitches in satin fills.
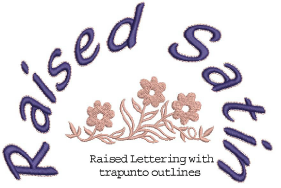
Raised Satin can be applied to lettering with or without trapunto outlines to create raised lettering. See Quilted embroidery for details.
You can fill lettering shapes with Step stitch. It is particularly suitable for filling large, irregular lettering shapes. Adjust stitch density and pattern as desired. See Creating step stitch fills for details.

You can fill lettering shapes with Fancy stitching as well as the regular satin stitch. It is particularly suitable for filling large, irregular lettering shapes that are too large for satin stitch. The density is determined by the stitch spacing setting. See also Fancy fills.

The software differentiates between ‘implicit trims’ and ‘explicit trims’. Implicit trims are automatically added to output files when connector stitch length is greater than 2 mm. This applies to connectors between objects and within lettering objects. If you want to explicitly trim connectors, apply ‘Always trim’ to selected objects or the entire design. This works for lettering as well as other objects. See also Embroidery Connectors.