Create circular baselines
Use Circle CW and Circle CCW baselines to place letters around a full circle or ellipse in clockwise or counter-clockwise directions. By default, letters are positioned above Circle CW baselines and below Circle CCW baselines. They are also centered by default.
To create circular baselines...
1Right-click the Lettering icon. The Object Properties > Lettering dialog opens.
2Enter your text in the text entry panel.
3Select the Circle CW or Circle CCW icon and click Apply. The Status Bar will prompt you.
4Mark the center of the circle.
5Mark a point to define the radius.
6Press Enter to complete the circle.
7Alternatively, if you want to create an oval baseline, mark a third reference point.
8Press Enter to complete the oval.
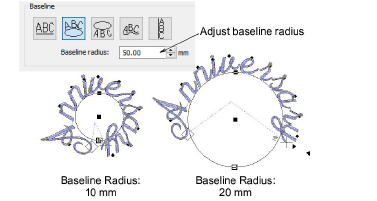
Make a circle large enough for your lettering. If it is too small, or the lettering too big, the letters will be crowded. You can, however, adjust the baseline radius in the dialog.
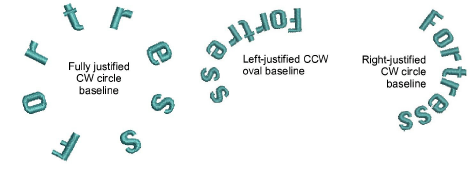
Different effects can be achieved by changing the justification setting – left, right, center, full.
Related topics


