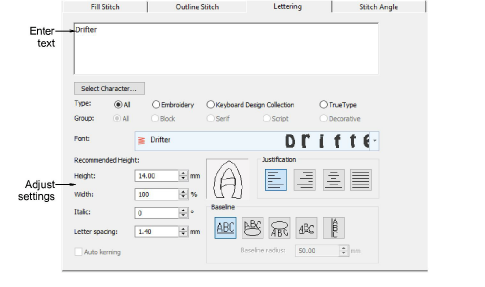
Right-click Lettering / Monogramming > Lettering to enter text in the dialog and adjust settings for embroidery lettering.
|
|
Right-click Lettering / Monogramming > Lettering to enter text in the dialog and adjust settings for embroidery lettering. |
You can specify letter formatting before adding it to the design. Select from the supplied embroidery fonts or convert TrueType or OpenType fonts. If you are embroidering on a child’s outfit you might use a simple font like Childs Play. If you are embroidering on a ladies nightdress you might use an elegant script font like Anniversary.
1Right-click the Lettering icon. The Object Properties > Lettering dialog opens.

2Enter the text you want to embroider in the text entry panel. To start a new line, press Enter.
You can insert a color change between two letters by keying a caret (^) symbol. Subsequent letters default to the next color in the palette.
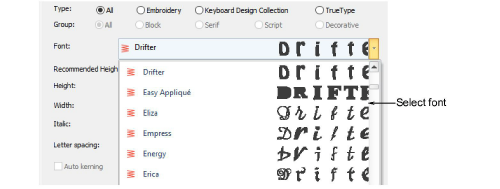
3Select a font from the Alphabet list.
Choose a font type – Embroidery, TrueType, or both.
Choose a font group – block, serif, script, or decorative. These only apply to TrueType fonts.
Type two (or more) characters of the font name to jump ahead in the font list.

Check min/max recommendations for each font and stay within them for best results.
4Adjust formatting and baseline settings as required.
5Click Apply.
6Click where you want to place the lettering, or mark reference points for the baseline you selected.

Letters are filled with stitches according to current stitch settings in the Object Properties dialog. You can change these at any time.