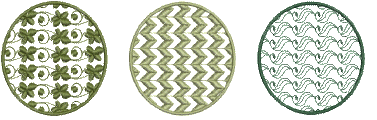
Use Stitches > Pattern Fill to create decorative fill stitching. Choose from pattern library.
|
|
Use Stitches > Pattern Fill to create decorative fill stitching. Choose from pattern library. |
Use Pattern Fill with filled objects to create decorative fill stitching. Current values are set in the Fill Stitch tab of the Object Properties dialog. You can select patterns, adjust settings, or change layouts at any time before or after digitizing.
1Click the Pattern Fill icon. The stitch type will be applied to new or selected objects based on current settings.
2Create a closed shape and select.
If the pattern fill does not pick up the color you have selected in the color palette when first digitized, select the outline after digitizing, then select a color.
3To change settings, double-click or right-click the object/s. The Object Properties > Fill Stitch dialog opens.
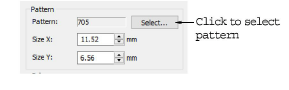
4Click Select. The Select Pattern dialog opens showing all available patterns in the current set.
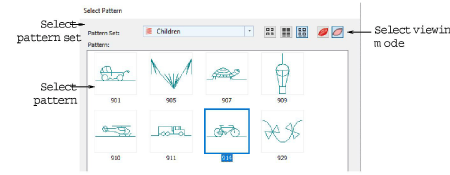
Select a viewing mode – you can list patterns by picture, name, or both.
5Select a pattern set from the droplist and a pattern from the display panel.
6Click OK. The selected pattern is displayed in the preview panel.
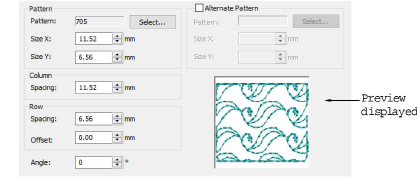
7Adjust pattern layout by changing settings or on-screen.
Stitch angle has no effect on the pattern layout.
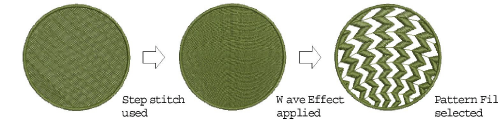
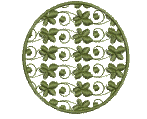
8Click Apply. The digitized object is filled with the selected Pattern Fill.
Wave Fill lets you contour fill stitches along a digitized guideline. Wave Fill can be applied to Pattern Fill objects. However, you need to first apply the effect to a Step fill before converting to a Pattern Fill.