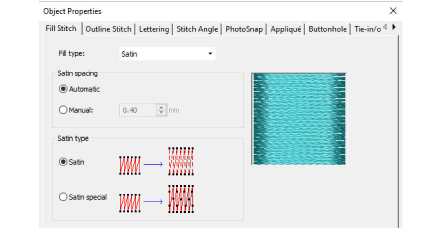
Use General > Object Properties to set current properties or properties of selected objects.

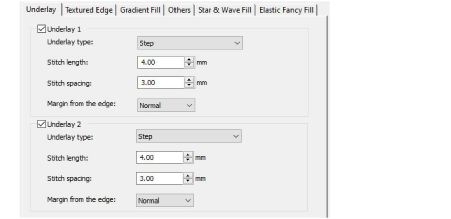
Use General > Effects to apply stitch effects to selected embroidery objects or preset with nothing selected.
Designs created in BERNINA V9 are composed of ‘embroidery objects’. They are called ‘objects’ because they are discrete entities which can be manipulated independently of each other. Each object has certain characteristics or ‘properties’ such as color, size, position, and so on. The most important dialog in BERNINA V9 is the Object Properties dialog.
Open the Object Properties dialog by any of the following means:
Click the Object Properties icon.
Double-click or right-click any object in the workspace.

Select a tab to access the object property set you want to adjust.
Use fields, droplists, radio buttons, checkboxes, and slider controls to key in or adjust settings.
Click the Effects button to access a separate set of more specialized object property settings such as Underlay, Textured Edge, Gradient Fill, etc.

This dialog, in turn, includes a Properties button which opens the Object Properties dialog. You can choose to close the Object Properties dialog automatically whenever the Effects dialog is opened, and vice versa.

Graphic tips are incorporated into the Object Properties dialog to give you visual feedback on particular settings. These are displayed whenever you hover the mouse over a control. For example, with the mouse placed over the Stitch Spacing control, a graphic tip appears beside it.
Apply settings by means of the Apply button at the bottom of the dialog or by pressing Enter.
If one or more objects are selected, changes are applied to all relevant objects.
If no objects are selected, changes are made to the current settings – these will affect any newly created objects.
If you have modified settings on a number of tabs, all changes that can be applied will be applied.
Click the Save to Template button to save settings to the current template.
These become the defaults whenever you create new files based on this template.
Click the Discard button or press the Esc key to discard any changes.
Click OK to close the dialog and apply any pending changes.