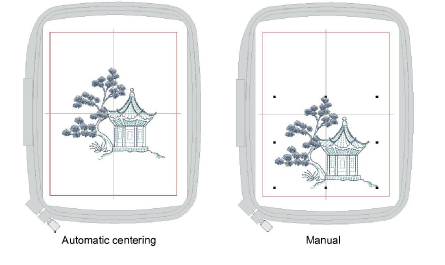
Click View > Show Hoop to show or hide hoop. Right-click to change hoop settings.
|
|
Click View > Show Hoop to show or hide hoop. Right-click to change hoop settings. |
By default, BERNINA V9 ensures that your design is always centered in the hoop. However, you can use the manual option to lock the hoop position. This means it won’t automatically center while you are digitizing. If you are creating a single hooping, however, always turn on auto-centering to check that the design will fit within the selected hoop.
Note Some embroidery machines will always center the design. You can set your software to match the exact behavior of the machine.
Select Settings > Options and select the Hoop tab or right-click the Show Hoop icon. The Options > Machine & Hoop dialog opens.

In the Position panel, specify how you want the hoop centered:
|
Option |
Purpose |
|
Automatic centering |
The hoop always centers itself around the design center. |
|
At start needle position |
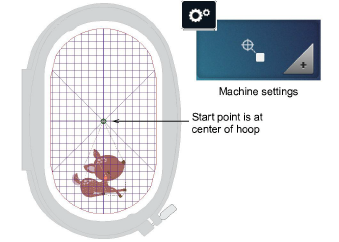
The hoop centers itself around the start needle point. If using this option, you should turn off the ‘Maintain Automatically’ option in Auto Start & End. |
|
Manual |
Allows manual placement of the design anywhere in the hoop. Only suitable for machines which allow off-centering of designs within the hoop. |
|
Set hoop center |
Allows an arbitrary hoop center to be created by digitizing a point in the workspace. |
Click OK.
If you have selected Set Hoop Center, click a point in the workspace where you want to center the hoop.

If you want to off-center the design, turn off Maintain Automatically. You might do this to set up continuous designs or for special placements such as pockets. Use this with machines that allow you to maintain start and end connectors.
With machines that always start in the center of the hoop, make sure automatic centering is set to the start needle position.
