Create quilt block layouts
Create quilt block layouts using Layout tools together with selected design/s and/or object/s.
To create a quilt block layout...
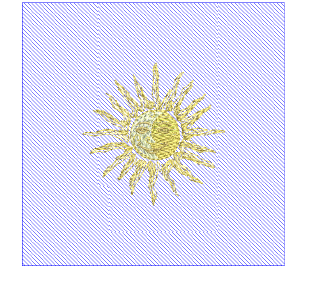
1Define your quilt block according to its application.
2Insert a design and/or select a design/s or object/s already on-screen.
3Resize as necessary. Optionally, use the Auto Center to Work Area tool to move selected object/s to the center of the work area. Press Enter to confirm.
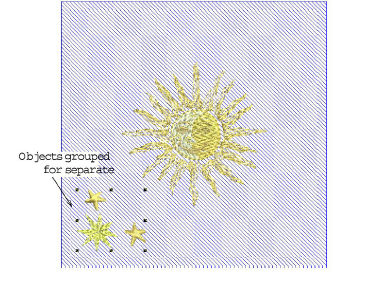
4Insert further objects as needed. Move to the desired position in the work area. Use arrow keys to nudge into position.
5Before you copy the design to the work area, you need to decide whether to merge color blocks:
-
If you want the selected objects to sew out in separate hoopings, make sure they are grouped before proceeding.
-
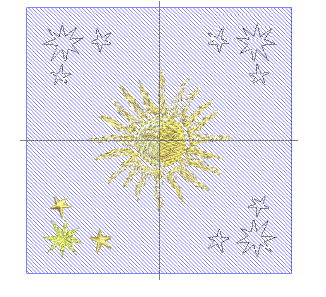
Alternatively, leave the objects ungrouped, and they will be color-optimized for a single stitchout – i.e. color block by color block.
-
Click Mirror-Copy to Quilt Block Corners. Wireframe copies are mirrored about vertical and horizontal axes.
6Use the Layout Quilt Settings toolbar to control the duplicates:
-
Use Quilt Block Margin to specify a margin (in mm) between the edge of the quilt block and the duplicates.
-
Optionally, use Center Copy to create a copy of selected object/s at the center of the quilt block.
7Press Esc to cancel or Enter to confirm.
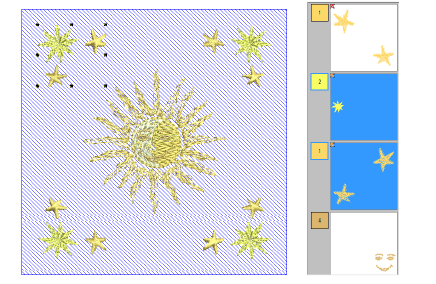
8Check the design layout in the Color Film. Manually resequence colors where necessary.
When used in conjunction with the Multi-Hooping toolbox, you can place multiple hoops around a single design.
9Optionally, use the Mirror-Merge or/and Quilting Background tool to add more objects and stitching.
Related topics...