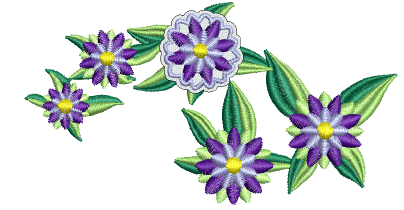
Create stumpwork without wirelines
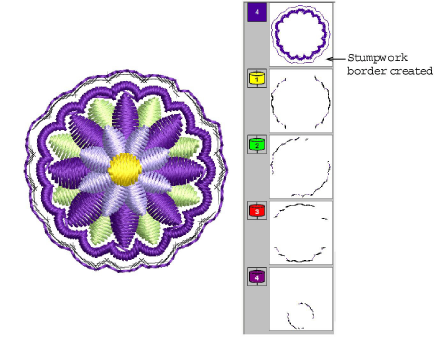
Another simple scenario for the use of stumpwork involves creating design elements within a closed border. Like open-border stumpwork, these elements, or ‘sub-designs’, are sewn onto a separate piece of fabric, usually patterned, but without the inclusion of a wire. They are then cut out and attached to the base design. Required tools are listed above.
Tip The Digitize Open Cut and Digitize Closed Cut tools can also be used as both ‘Cut’ and ‘Piece’ borders can form stumpwork sub-designs.
To digitize stumpwork without a wireline...
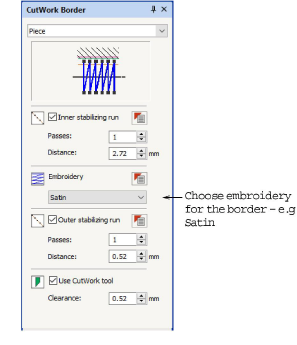
1Use your normal embroidery tools to create a design, or take an existing design you want to modify. See also Digitizing Methods.
2Select the Digitize Piece tool and adjust the embroidery type as preferred – e.g. Satin border.
3Digitize your border as you would any other closed object.
4Press Enter to complete. A cutwork piece border is generated based on the ‘Piece’ border presets. See Cutwork interface for details.
5Select the resulting border and everything else you want included within it, and click Create Stumpwork Sub-design.
Selected objects are bundled into a composite object which resides on a separate ‘layer’ to the base design.
6Optionally, edit your stumpwork sub-design by double-clicking or clicking Open Stumpwork Sub-design.
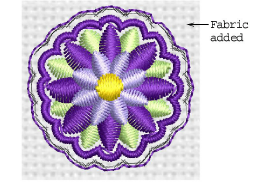
The stumpwork sub-design opens in a separate window where you can edit its properties. Optionally, add a background indicative of the fabric you will be using. See Edit stumpwork sub-design for details.
7Close the sub-design to return to the base design. You will be prompted to save.


