
Click View > Keep Hoop Position to keep the hoop in position when placing the design. When toggled off (the default), the hoop is automatically centered around the design.
|
|
Click View > Keep Hoop Position to keep the hoop in position when placing the design. When toggled off (the default), the hoop is automatically centered around the design. |
Sometimes, you want to stitch out at specific locations for garments, caps and other projects. For example, take the case where you want to embroider a monogram design on a shirt pocket. Use this with machines that allow you to maintain the start and end connectors.
1Open a blank design.
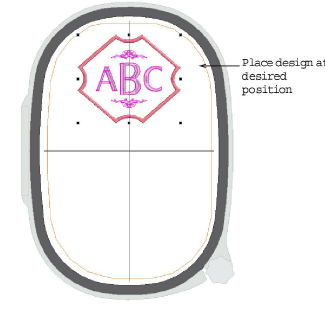
2Click the Keep Hoop Position toggle to automatically set the hoop position to ‘Manual’. This allows you to place the design at the desired location.
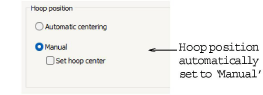
The Keep Hoop Position toggle will also automatically activate ‘Start position’ in the Auto Start and End dialog and set it to ‘Start needle position in hoop’.
3Using the Lettering toolbox, create a lettering or monogram design.
4Optionally, include a background for the garment you are using.
5Optionally print the design worksheet. The worksheet shows the hoop position marker on the design at the on-screen location.
6Send the design to the machine. The design is positioned in the same location as shown on screen. It uses the start needle to locate the design in relation to the hoop center.
7Hoop the garment using the hoop template vertical centerline to locate the center of the pocket. Then place the respective horizontal centerline 10mm below the top of the pocket.
8Make sure your machine is set to maintain the saved start design position.
9Stitch out the design.