
Click View > Show Hoop to show or hide hoop. Right-click for settings.

Click View > Show Hoop Template to show or hide hoop template.
|
|
Click View > Show Hoop to show or hide hoop. Right-click for settings. |
|
|
Click View > Show Hoop Template to show or hide hoop template. |
From the range of hoop sizes available, select the smallest hoop which will accommodate your design. This will hold the fabric tight while stitching. When you choose a new hoop, it becomes the ‘current’ hoop until changed in the present or a future session.
1Right-click the Show Hoop icon. The Options > Machine & Hoop dialog opens.
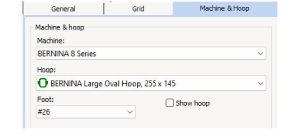
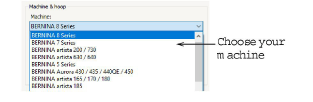
2Choose your machine. The hoop list is filtered to display compatible hoops.
3Select a hoop to suit your current design.
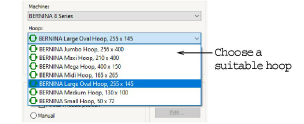
In the hoop droplist, factory hoops are shown with a green, rounded-rectangle icon, while custom hoops are shown with a grey, circular icon.
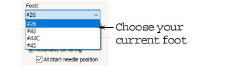
4Select the foot you are currently using. This will affect the stitchable area within the hoop.
5Use the checkbox to toggle the hoop display on or off.
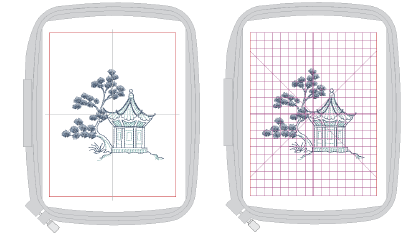
Alternatively, use the View toolbar toggles to turn on/off hoop and/or hoop template. The template may be used to help position your design within the hoop.
You can include the hoop template in the design worksheet, together with alignment and registration guide markings. This allows you to cut out the printed design and align it within the hoop. Use the template markings to align it to physical hoop template.