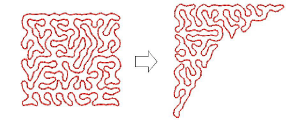
Stipple fills
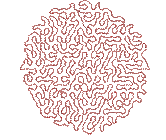
Stippling creates a fill made up of run stitches which meander within a border. There are three types: Stipple Run, Stipple Backstitch, and Stipple Stemstitch. Stippling can be applied to the same objects as Pattern Fill – i.e. closed objects with or without stitch angles. It can’t be applied to lettering, auto appliqué or composite objects.
You can control stitch density in stippling objects by adjusting stitch length and loop spacing. You can reshape and scale stipple fill object outlines while preserving settings.
To create a stippling fill...
1Choose a Stipple Fill.
2Create or select a closed shape.
Stitch angle has no effect on the stipple run pattern.
3To change settings, double-click or right-click the object. The Object Properties > Fill Stitch dialog opens.
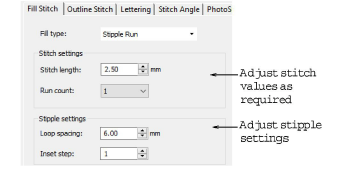
4Adjust run Stitch settings as desired:
-
Adjust Run count defines the number of stitch repetitions – e.g. 1, 3, 5, 7, 9 – and hence the stitch bulk.
5Adjust Stipple settings as desired:
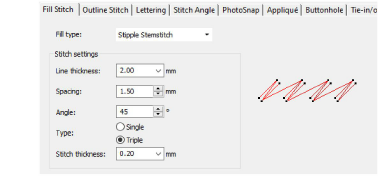
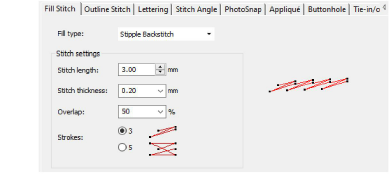
6Change stipple Stitch type as desired. Stipple Stemstitch and Stipple Backstitch work the same way as Stipple Run except that they create a more ornate fill effect.
7Click Apply to preview the effect or OK to finish and close.
Once a stipple fill is generated, you can adjust object properties of the generated stipple run at any time. You can also reshape and scale stipple fill object outlines while preserving settings.
The Break Apart command can be applied to stipple fill objects. As a result, you can edit the stipple run line directly. Apply Pattern Run, Satin and other outline stitch types as desired.
Related topics...


