Preparing photos for auto-digitizing
A degree of preparation is needed for any of the photographic auto-digitizing techniques. For best results, use crisp images with well-defined subjects and strong contrasts.
Tip With Color PhotoStitch, thread count is limited to 15 colors. Results greatly depend on image quality. You may want to spend time preparing the photo in a third-party graphics editing environment such as Corel PHOTO-PAINT. For instance, pre-size the image to the intended dimensions – best results are generally obtained with images smaller than 210 mm. Pre-crop the image as necessary. Try adjusting brightness and contrast as well as reducing color depth – e.g. 24 bit. Try saving as PNG to reduce file size.
To prepare a photo for auto-digitizing...
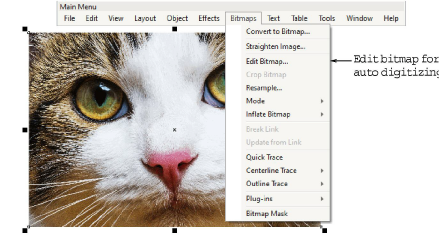
1Turn on Show Bitmap Artwork.
2Scan or insert the image you want to use. For best stitching results, photos are better imported via Artwork Canvas if available.
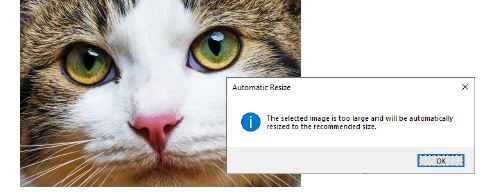
3Size the image for its intended purpose. 210mm is the limit. You may be prompted to resize when you run Color PhotoStitch.
Support is provided for transparent backgrounds in 24 bit and 32 bit images.
Related topics...
To adjust image lightness and contrast...
1Optionally, use Adjust Bitmap to adjust basic brightness and contrast.
2First, try clicking Auto Adjust to allow the software to auto-adjust the image. This works well most of the time. Use Brightness and Contrast settings to sharpen the image further.
3Optionally, click Reset to return the bitmap to default settings.
4Choose between image variations:
|
Option
|
Function
|
|
Sepia
|
In photographic terms, ‘sepia’ refers to the dark-brown color of old-fashioned prints. Originally the process involved adding a pigment made from cuttlefish ink during development.
|
|
Gray
|
Grayscale images are ones composed exclusively of shades of gray, varying from black to white.
|
To prepare the photo in Artwork Canvas...
For the full range of image adjustment techniques, use a dedicated graphics program like Corel PHOTO-PAINT® SE.
Related topics...