Digitize whole images automatically
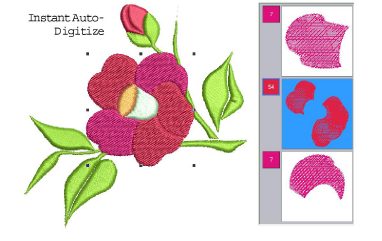
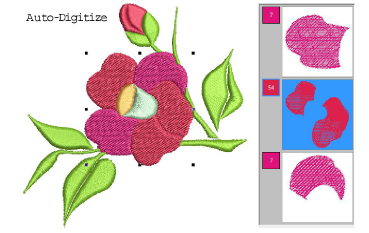
In essence, creating an embroidery design with the Instant Auto-Digitize tool is simply a matter of selecting the image you want to convert, and clicking the tool. The system automatically determines colors to fill, turn into details, or omit altogether. And it chooses suitable stitch types using default settings. Even if an image has not been pre-processed, Instant Auto-Digitize will automatically process and convert it. For more control over object conversion, use the Auto-Digitize method.
Tip Once created, you can always edit the final result using the available techniques. Always remember to apply underlays and you may need to reshape some objects.
To digitize a whole image automatically...
-
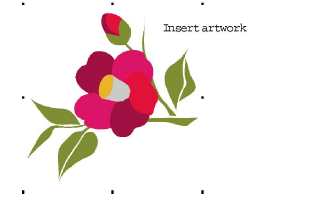
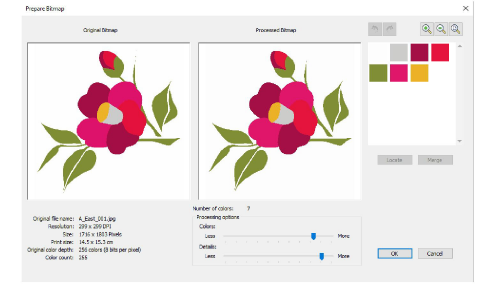
Optionally, pre-process the image with the image preparation tool.
-
For an instant sample of your artwork, click Instant Auto-Digitize. With simple designs, the results my be sufficient to work with.
-
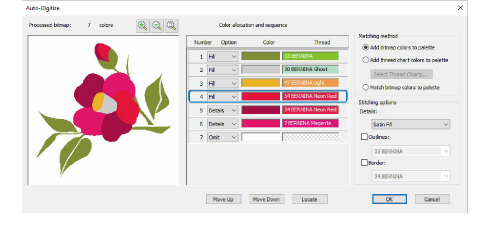
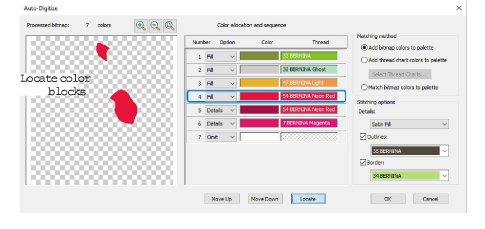
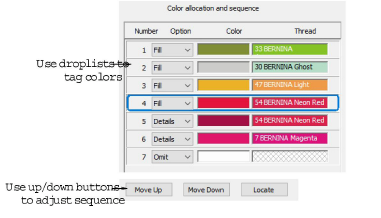
Use droplists to treat colors as ‘fills’ or ‘details’, or omit altogether. Fills are always stitched first, details, including borders or small areas, last.
-
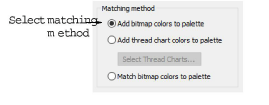
Use the ‘Add bitmap colors to palette’ option if you want to use the exact image colors.
-
Adjust stitching options for details as preferred.
-
Click OK to process the image.
All editing techniques are available to further refine the auto-digitized results.
Related topics...


