Use Auto-Digitize > Auto-Digitize to automatically digitize prepared bitmap artwork.
|
|
Use Auto-Digitize > Auto-Digitize to automatically digitize prepared bitmap artwork. |
Auto-Digitize lets you adjust object recognition settings for any color you identify as a ‘detail’. A detail may be a centerline, a border, or a small area of the design you want stitched last. If an image color is both a fill and a detail, you can either recolor the fill color in a graphics package, or omit it for later editing. Auto-Digitize also allows you to automatically generate outlines during image conversion.
Auto-digitize your artwork using the Auto-Digitize tool.

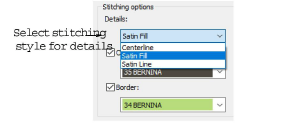
Select a stitching style for details from the droplist:
|
Style |
Description |
|
Centerline |
Most suited for use with thin lines. This option will trace the center of a color identified as a detail with a run stitch. |
|
Satin line |
Suited for use with thicker lines of constant width, usually with larger designs. However, if the width of the shape varies, the software will automatically apply satin fill even if satin line is selected. |
|
Satin fill |
Most suited for use with thicker lines or small shapes of varying width. |
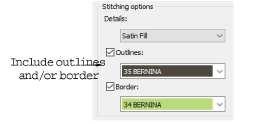
Optionally, add outlines to all color blocks. Tick Outlines and select a color. This has the effect of reinforcing color blocks with a continuous, branched running stitch.

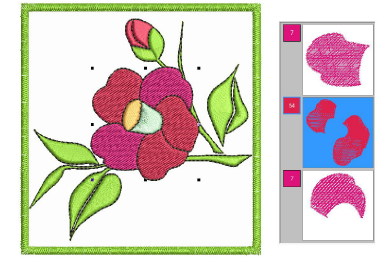
If the image already contains outlines, the use of Outlines will result in double outlines.
Similarly, you can add a border to the entire design by ticking the Border checkbox.
Click OK to process the image.

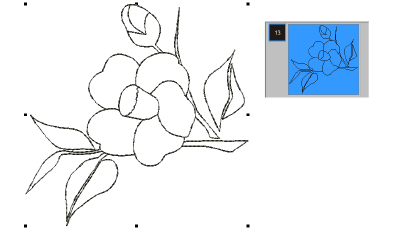
You may omit all image colors from the selection criteria and choose to generate only outlines.
