Create large embroidery layouts using Layout tools together with selected design/s and/or object/s. The tools listed above are the ones you will need for circular layouts.
Define your work area according to its application – e.g. as a layout for a tablecloth.
Insert a design and/or select a design/s or object/s already on-screen.
Resize as necessary. Optionally, use the Auto Center to Work Area tool to move selected object/s to the center of the work area.
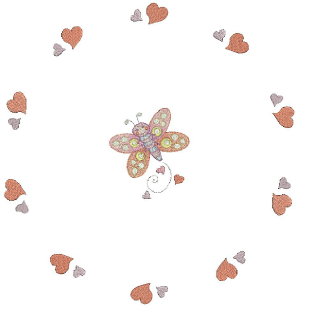
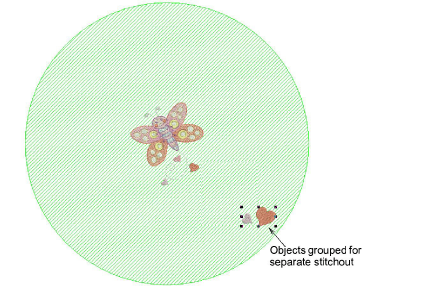
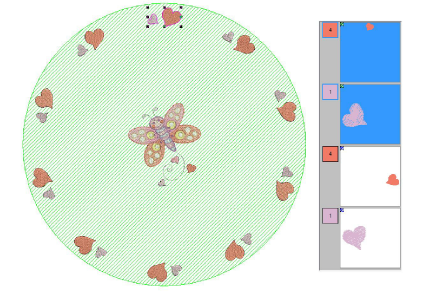
 Press Enter to confirm.
Insert further objects as needed. Move to the desired position in the work area. Use arrow keys to nudge into position.
Before you copy the design to the work area, you need to decide whether to merge color blocks:
If you want the selected objects to sew out in separate hoopings, make sure they are grouped before proceeding.
Alternatively, leave the objects ungrouped, and they will be color-optimized for a single stitchout – i.e. color-block by color-block.
Click Lay out to Circular Work Area. Wireframe copies are mirrored about vertical and horizontal axes.
Use the Mirror-Merge Settings toolbar to control the duplicates:
Set the number of copies to make.
If you are creating an even number of duplicates, use Mirror Alternate to mirror alternating copies as preferred.
Use Work Area Margin to specify a margin (in mm) between the edge of the work area and the duplicates.
Press Esc to cancel or Enter to confirm.
Check the design layout in the Color Film. Manually resequence colors where necessary.
When used in conjunction with the Multi-Hooping toolbox, you can place multiple hoops around a single design.