Use View > Show Work Area to show or hide a work area defined under Layout.

Use Layout > Define Work Area to define a rectangular or circular work area of a specified size.
|
|
Use View > Show Work Area to show or hide a work area defined under Layout. |
|
|
Use Layout > Define Work Area to define a rectangular or circular work area of a specified size. |
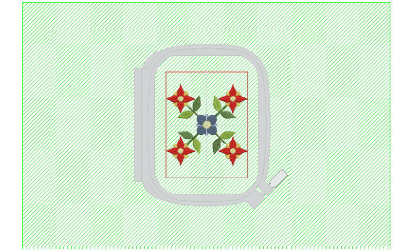
Before you can create a design layout, you first need to define a work area corresponding to the item or fabric you intend to embroider. Work areas may be rectangular or circular. The software lets you define a work area up to 3m x 3m (10' x 10').
Set the measurement system via a droplist on the General toolbar.
Select Define Work Area to set a new work area.
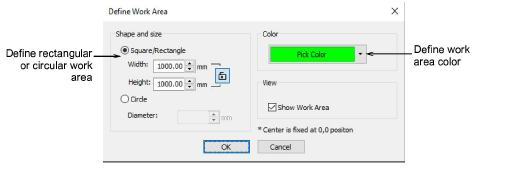
Specify a work area shape, size, and color.
Use the lock to maintain width and height proportions in rectangular layouts.
The color is just for on-screen viewing. It has no effect on design output.
Click OK to confirm. If the checkbox is activated in the dialog, the work area will display by default. Otherwise, use the Show Work Area toggle.