Digitize cutwork objects
You digitize cutwork in much the same way as you digitize appliqué objects. However, you first select the tool which suits the work you are doing. If you are planning to do stumpwork, you generally create a cutwork piece first.
To digitize a cutwork object...
1Import suitable artwork as a digitizing backdrop.
2Study the artwork carefully and decide which objects comprise cutwork and which will be normal embroidery.
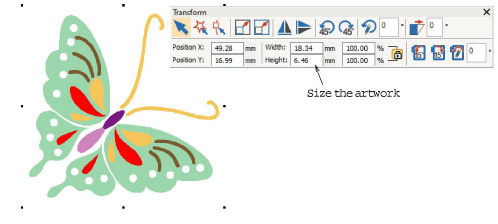
3Size the artwork to the correct dimensions for the intended application – e.g. tablecloth.
4Select a tool from the CutWork / StumpWork toolbox. If you are digitizing pure cutwork rather than stumpwork, you will only be interested in the Digitize Hole or Digitize Cut tools.
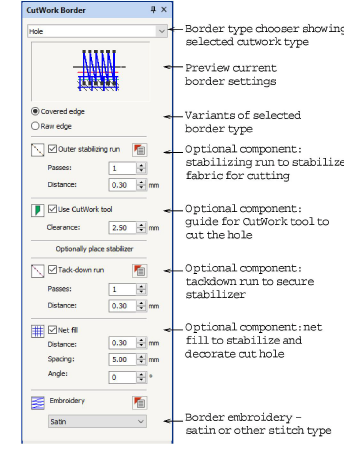
The docker reconfigures itself according to the selected tool. Components are listed in order of stitchout.
5Adjust settings for the chosen border type as preferred. Alternatively, settings can be adjusted after digitizing.
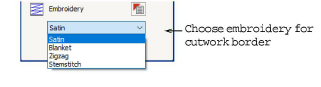
6Choose the type of embroidery you intend to use from the droplist and adjust settings as preferred. See Adjust cutwork settings for details.
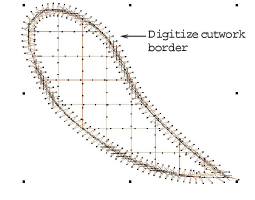
7Digitize cutwork as you would any closed object.
8Press Enter to close the shape. The border is generated according to chosen border type and settings. For example:
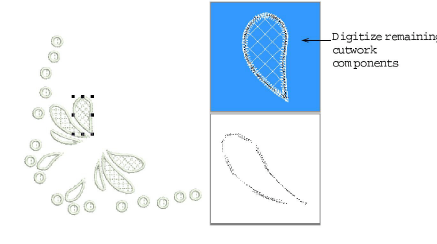
9Digitize remaining cutwork objects using suitable border types. See also Border types.
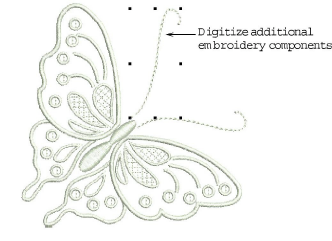
10Digitize any additional embroidery.
11Resequence embroidery and cutwork objects as necessary. Usually embroidery will be stitched before cutwork. And ideally, all cutwork should be stitched together.