Auto-digitizing with PhotoSnap
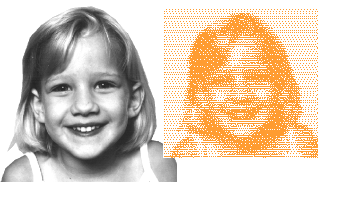
Use PhotoSnap to create embroidery from photographs and other images, color or grayscale. Grayscale images are made up of different shades of gray pixels. Color images are automatically converted to grayscale when you apply PhotoSnap.
PhotoSnap designs consist of rows of single-color satin stitching. The effect resembles the output of a line printer.
Tip For best results, use images with well-defined subjects or constantly varying shades.
To create a design with PhotoSnap...
1Scan or load the image you want to use.
If you cannot see the image you loaded make sure Show Bitmap Artwork icon is toggled on.
2Select the image and click the PhotoSnap icon. BERNINA V9 generates stitches. This process may take some time.
3Right-click the resulting PhotoSnap design and select Object Properties from the popup menu. Choose the PhotoSnap tab.
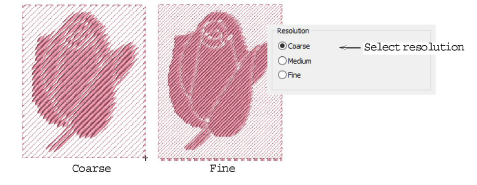
4In the Resolution panel, choose a resolution – Coarse, Medium, or Fine – and click Apply.
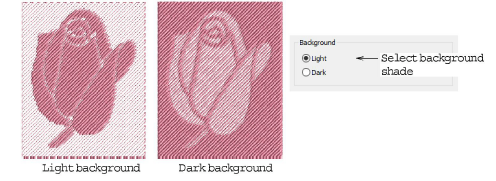
5In the Background Fabric panel, select a background option – Light or Dark – and click Apply.
Usually the option you select depends on whether the fabric is light or dark.
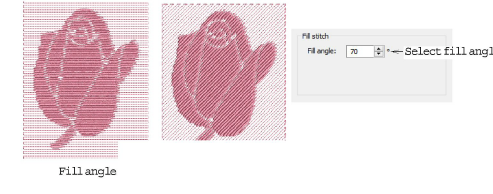
6In the Fill Angle panel, adjust the stitching angle, if required, and click Apply.
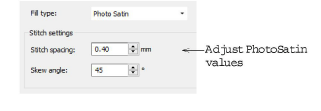
7Select Fill Stitch tab and adjust PhotoSatin stitch values as desired.
-
Stitch Spacing: adjusts stitch density – to increase stitch density, enter a smaller value.
-
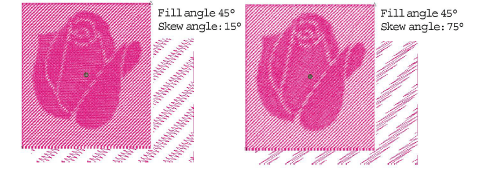
Skew Angle: determines the angle of the stitches themselves (as distinct from the fill angle).
8Click Apply to apply changes and OK to close.
Related topics...