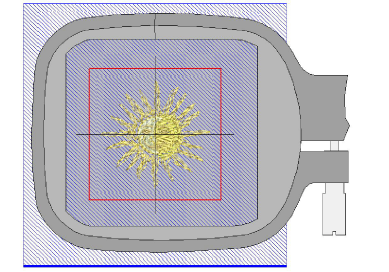
Use View > Show Quilt Block to show or hide a quilt block defined under Layout.

Use Layout > Define Quilt Block to define a quilt block of a specified size.
|
|
Use View > Show Quilt Block to show or hide a quilt block defined under Layout. |
|
|
Use Layout > Define Quilt Block to define a quilt block of a specified size. |
Before you can create a quilt block layout, you first need to define a quilt block corresponding to the patch you intend to embroider. While quilt blocks tend to be in the range of 8" x 8" to 12" x 12", the software lets you define an area up 10' x 10'. This allows you to create a ‘block’ equal to the finished quilt size. You can then, for instance, create a single continuous background for the entire quilt.
Set the measurement system via a droplist on the General toolbar.
Select Define Quilt Block to set a new quilt block.

Specify a quilt block size and color.
Use the lock to maintain width and height proportions in rectangular layouts.
The color is just for on-screen viewing. It has no effect on design output.
Choose a centering option:
|
Center |
Purpose |
|
At 0,0 position |
This will place the quilt block at the center of the design space. You can use the Layouts tools to locate designs in the quilt block. |
|
Use design center |
This will place the quilt block at the center of existing design extents. This ensures the design is at the center of the quilt block. |
|
Digitize center |
This allows you to digitize the center point for the quilt block anywhere in the design space. This allows the quilt block to be offset to the actual design. |
Click OK to confirm. If the checkbox is activated in the dialog, the quilt block will display by default. Otherwise, use the Show Quilt Block toggle.
