Add designs & folders to library

FindEmbroideryDesigns.png 

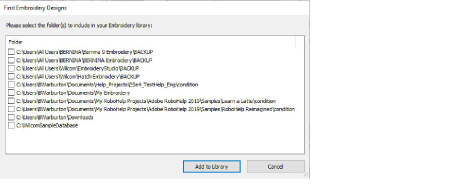
Use Manage Designs > Find Embroidery Designs to search the computer for folders containing embroidery to add to the library.

AddFolderToLibrary.png 

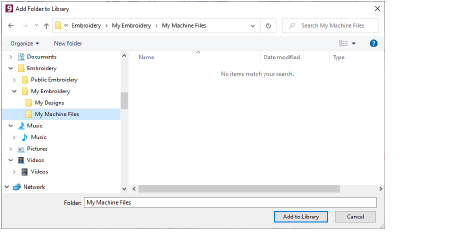
Use Manage Designs > Add Folder to Library to add an existing folder to the Embroidery Library. This enables faster searching and filtering of the folder.

RemoveFolderFromLibrary.png 

Use Manage Designs > Remove Folder from Library to remove a folder from the Embroidery Library. This only removes the link to the folder from within the library. It does not actually delete the files in the folder from storage.

Finding all compatible designs on your hard disk and any external devices such as USB, zip drive, etc, is simply a matter of clicking the button. You will be prompted to select the folders containing designs you want to add to the embroidery library. Simply select the folders you want to include in your Embroidery Library, and click Add to Library.

FindEmbroideryDesigns00016.png


Alternatively, simply click the Add Folder to Library button to locate a folder of your choice. In the dialog, click Add to Library to add the folder to your embroidery library.

SelectFolderToAdd.png


Remember that the Embroidery Library is a ‘virtual library’. When you add or remove folders from the navigation tree, this only affects the Embroidery Library. It does not affect the folder structure on your hard drive. To remove a folder from the Embroidery Library, select and click the Remove icon. When you remove a folder, all subordinate folders will also be removed from the navigation tree.

Related topics