Create cutwork borders from existing embroidery
Frequently, you want to turn existing embroidery into cutwork pieces. You have the option converting individual objects or of selecting multiple objects and adding a common cutwork border around them. These may be standalone or, more commonly, intended as a sub-design in a larger design. You have two choices – either add a piece border, usually with a wireline, or create a simple cut.
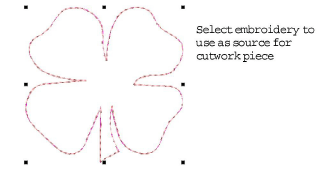
To convert existing embroidery to a cutwork border...
1Open an existing design or create an embroidery object.
2Select the object and click the Convert to CutWork Border icon. The object is converted to a cutwork piece using current settings.
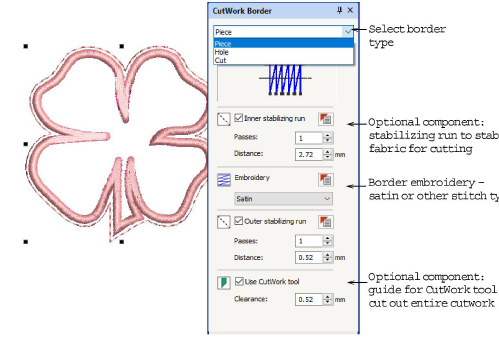
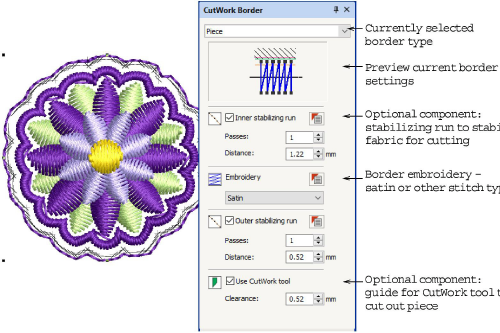
3Double-click the object to open the CutWork Border docker. Make any additional modifications using the docker.
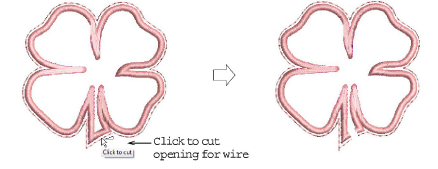
4If you are using ‘wireline’ as your selected embroidery type, use the Cut Closed Border to cut the border, leaving an opening for wire ends.
To add a cutwork border to existing embroidery...
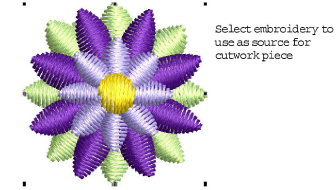
1Open an existing design or create the required embroidery objects.
In the scenario shown here, we add a cutwork border to a selection, including to the hole within it. See also Creating stumpwork.
2Select all objects and click the Add CutWork Border icon.
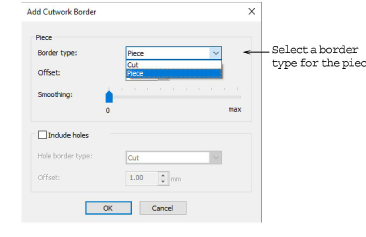
The Add CutWork Border dialog assumes you want to create a cut. However, you can also turn the selection into a cutwork piece.
3Specify the border type you want to apply:
|
Setting
|
Purpose
|
|
Border type
|
You have a choice of piece or simple cut.
|
|
Offset
|
By default, the cutwork piece will be offset from the selected object/s by a small margin. Adjust as necessary.
|
|
Smoothing
|
Depending on selected shape, adjust smoothing with the slider bar. This determines how closely the generated cutwork piece follows the source.
|
4Optionally, tick Include holes if you want to turn holes into cutwork.
Adjust settings as preferred:
|
Setting
|
Purpose
|
|
Hole border type
|
You have a choice of raw or covered edge. Or a simple cut.
|
|
Offset
|
The cutwork hole also will, by default, be offset from the originating hole. Adjust as needed.
|
5Click OK. Make any additional modifications using the CutWork Border docker.
You are prompted to cut the border if ‘Wireline’ is selected for the ‘Piece’ border type.
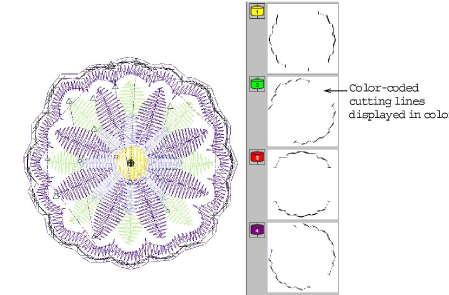
To view cutwork borders...
Resulting objects can be treated as standalone cutwork piece and hole borders. Or they can be easily turned into stumpwork and incorporated into a larger design. See Creating stumpwork for details.


