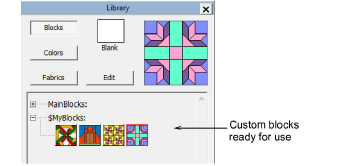
Once you have defined a block library to store your custom blocks and have added as many blanks as needed, you can edit them in the Block Editor.
In the library, select your custom library.
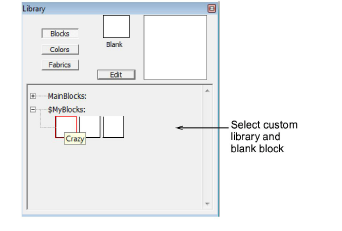
Select a blank block and click the Edit button.
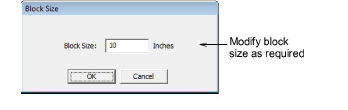
The selected blank block opens in the Block Editor. The blank block defaults to the 10x10 grid standard for quilt blocks.

If required, adjust block size via the Edit > Block Size command.
Use the drawing tools and color palette to edit the blank block.
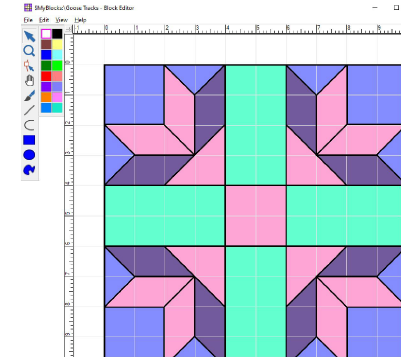
Reshaping lines in a block causes any current colors to be removed. This is correct behavior as reshaping an area can change its geometry, making existing colors invalid.
In general the drawing tools work the same way as in BERNINA V9:
|
Tool |
Purpose |
|
|
Use Select Shapes to select any lines drawn in the design window. |
|
|
Use Zoom Box to zoom in on details in your design. Use in conjunction with Pan. |
|
|
Use Reshape to modify selected lines in the block. Click and drag them as required. Right-click to add reshape nodes. |
|
|
Use Pan to click and drag the design within the editor window when working at high zoom factors. |
|
|
Use Color in conjunction with the color palette to color in selected areas of the block. |
|
|
Use Line to draw lines and divide up the grid as required. |
|
|
Use Curve to create curved lines. |
|
|
Use Solid Rectangle to create rectangular shapes in the currently selected color. |
|
|
Use Solid Circle to create circular shapes in the currently selected color. |
|
|
Use Solid Shape to create any shape in the currently selected color. |
When a block is zoomed out to the maximum, you will need to reselect the Zoom Box icon and redraw the zoom box in order to zoom in again.
Use the View > Snap to Grid command to force the draw tools to conform to the grid.
Use the View > Smart Snap command to force the draw tools to always join lines whether or not they conform to the grid.
When satisfied with the block, select File > Save. The block is now available for use in the Block Library.