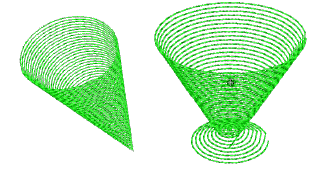
Use Stitches > Ripple Fill to create spiral stitching from the center of any filled object.
|
|
Use Stitches > Ripple Fill to create spiral stitching from the center of any filled object. |
Ripple Fill works best for ‘blobby’ shapes but can be applied to longer shapes. With longer shapes it may generate stitches that go outside the perimeter of the object, but this can provide for some interesting visual effects. The center of the Ripple stitch can be moved with the Reshape Object tool.
1Create or select a closed shape.
2Select Ripple Fill.
Stitch angle has no effect on the pattern layout.
3To change settings, double-click or right-click the object. The Object Properties > Fill Stitch dialog opens.
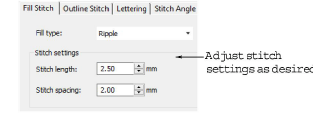
4Adjust ripple Stitch settings as desired:
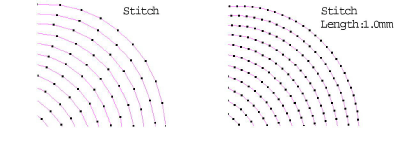
Adjust Stitch length for smoother or sharper curves.
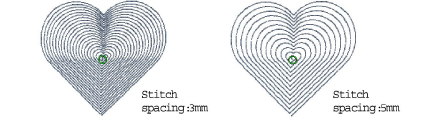
Adjust Stitch spacing for denser or more open stitching.
5Click Apply to preview the effect or OK to finish and close. The selected settings are applied to the object.
If the object has a hole, this is ignored when ripple is applied but still exists when other stitch types are applied.
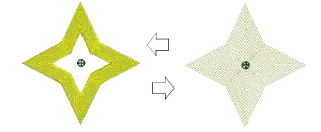
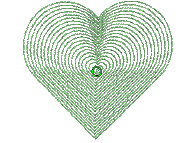
Some interesting visual effects can be achieved by reshaping and moving the centre of the Ripple Fill stitch outside the object outline.