

Use General > Options to configure workspace options such as grid, hoop, and scroll settings.
|
|
|
|
|
Use General > Options to configure workspace options such as grid, hoop, and scroll settings. |
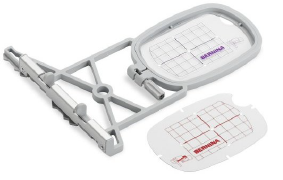
A range of sizes is available to suit the size of your design as well as a number of embroidery machines. Select the smallest hoop which fits the design from the range of hoop sizes available. This will hold the fabric tight while stitching.
1Select Settings > Options and select the Hoop tab or right-click the Show Hoop icon. The Options > Machine & Hoop dialog opens.
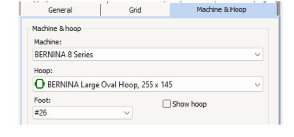
2In the machine and hoop panel, choose from among the available options:
|
Option |
Purpose |
|
Machine |
Choose your machine. This filters the hoop list to display compatible hoops. |
|
Hoop |
Select a hoop to suit your current design. |
|
Foot |
Select the foot you are currently using. This will affect the stitchable area within the hoop. |
|
Show hoop |
Use the checkbox to toggle on/off hoop display. |
3In the Hoop position panel, specify how you want the hoop centered:
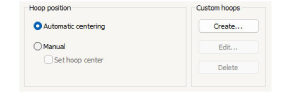
Options include:
|
Option |
Purpose |
|
Automatic centering |
The hoop always centers itself around the design center. |
|
Manual |
Allows manual placement of design anywhere in the hoop. Only suitable for machines which allow off-centering of designs within the hoop. |
|
Set hoop center |
Allows an arbitrary hoop center to be created by digitizing a point in the workspace. |
4Manage your own hoops with the Custom hoops options:
Click Create to create customized hoops.
Click Edit to edit existing hoops.
Click Delete to delete existing hoops.
5Click OK.